
|
|
 |
|
 Analog to Digital: Waste Paper From Stamping Projects Can Enhance Photoshop Art
Rubber Stamping Project by Carolyn Hasenfratz Copyright © 2014 Do you like this tutorial? Share it! Contents:
Introduction Sometimes the pieces of scrap paper I put under my rubber stamping projects to protect the work surface from ink end up with really interesting markings on them. Don't throw these pieces out - when they're dry, scan them and import them into Photoshop to make interesting textures that would be difficult if not impossible to duplicate with only digital tools. This tutorial assumes you are somewhat fluent in Photoshop already - I'm not attempting to teach Photoshop techniques step by step but rather to give you ideas on how to use your imported scanned textures to enhance your own artwork. Tools and Materials Paper scraps with ink remnants on them from rubber stamping projects Scanner Computer with Photoshop Create the Textures After scanning, here is how to turn each image into a Photoshop texture layer.
Make Abstract Art
 Enhance a Photograph
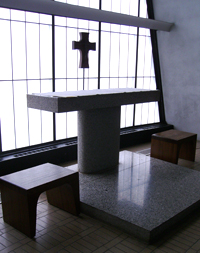
A couple of my scanned textures had some frame-like qualities that could be used to bring interest to certain areas of an image, so I looked for a photo with a good focal point that could benefit from some emphasis. I chose this photo I took at Priory Chapel while on a modern architecture tour with ModernSTL.
 Make a Texture More Interesting
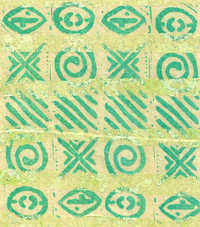
This scanned image made from a piece of fabric printed with rubber stamps is not bad but I thought it could be enhanced by one of my scanned-in textures. 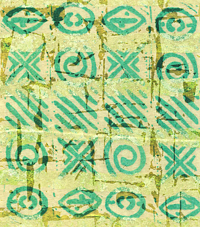 I used the burn technique described above to make it a lot better! I used the burn technique described above to make it a lot better!
If you like this technique, see my tutorial Making Printable Backgrounds for Stamping, Paper Crafts and Scrapbooking for another example. |
|
|
|
|
| ||
|
| ||
|
Carolyn Hasenfratz Design
www.chasenfratz.com/wp |
Etsy Shop
http://www.etsy.com/shop/CarolynsStampStore |
Sell 66 Stuff
www.sell66stuff.com |
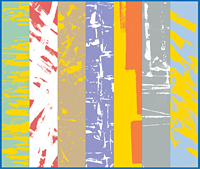
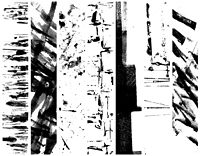 Make a new Photoshop file and decide what composition you would like. Something simple and geometric works well with the very active and organic textures we'll be using. I chose a composition of slim vertical rectangles and filled them with selections from the textures I imported then trimmed them to the shapes I wanted. Any textures that you want to keep as a separate color when you colorize the image, keep on its own layer.
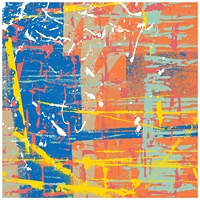 Here is another example in which I used just one background color and used only layered colorized textures to build the composition. It's lots of fun to reposition the textures and move the layers up or down to see what looks the best!
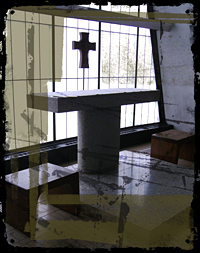 I pasted in another texture and moved it around until I liked the composition, then made another selection. This time, instead of making a new layer to fill with a solid color, I stayed on the merged layer and hid the selection outlines with CTRL-H. Then I used the burn tool with the range midtones and the exposure 10% with large soft brush size to burn in the texture. At these settings the effect will show up gradually which is exciting to see and fun to do! Keep going over the photo with the digital brush until you are pleased with the results, then deselect your outline.